Imagine this: You wake up, stumble into the kitchen to make a coffee, and turn on the tap. Nothing happens. Not even a sputter. You check the bathroom: same story. Suddenly, that $200 tactical knife in your drawer feels pretty useless, doesn't it?
We often talk about the "Rule of Threes" in survival: you can go three minutes without air, three weeks without food, but only three days without water. In reality, after just 24 hours of dehydration, your brain turns into mush, your decision-making fails, and you become a liability to yourself and your family.
At EoDSurvival, we believe that prepping for beginners shouldn't be about buying out the local army surplus store. It's about securing the basics. Today, we're diving deep into the most vital basic of all: your emergency water supply.
💧 1. The Math of Survival: How Much Do You Actually Need?
Most people vastly underestimate their water needs. The "one gallon per person per day" rule is the bare minimum. That's about 3.8 litres for my UK and European friends.
Here is how that gallon breaks down:
- Drinking: Half a gallon (more if it's hot or you're active).
- Hygiene: A quart (brushing teeth, washing hands).
- Food Prep: A quart (rehydrating dried food, washing a pot).
If you have a dog, a cat, or a nursing mother in the house, that "one gallon" rule goes out the window. You need to account for them too. A large dog can easily drink half a gallon a day.
The EoDSurvival Pro-Tip: Don't forget the "Passive Penalty." If you're forced to exert yourself — say, lugging gear or boarding up windows — your water requirement doubles. Plan for 1.5 to 2 gallons per person if you want to actually feel human during a crisis.
🧊 2. Water Storage for Survival: Beyond the Plastic Bottle
Stocking up on crates of bottled water from the supermarket is a great start for prepping for beginners, but it's not a long-term strategy. Those thin plastic bottles degrade over time, leaching chemicals into your water. Plus, they take up a massive amount of space.
Food-Grade is Non-Negotiable
When looking at water storage for survival, you must use food-grade containers. Look for the "HDPE 2" symbol on the bottom.
- Water Bricks: These are stackable, durable, and easy to transport.
- 55-Gallon Drums: Great for high-volume storage, but they are heavy. Once filled, they stay where they are.
- Bathtub Liners (WaterBobs): If you get a 30-minute warning before the taps go dry, these liners allow you to store up to 100 gallons in your tub safely.

Where to Hide Your Stash
Water is heavy (about 8.3 lbs per gallon). Don't store 500 gallons on the second floor of an old house unless you want your living room to become a swimming pool. Store it in a cool, dark place away from direct sunlight to prevent algae growth.
Rotation is Key: Even stored water can get a "flat" taste. Every 6-12 months, use your stored water to water the garden and refill the containers with fresh, treated tap water.
⛈️ 3. Gathering Water: When the Taps Go Dry
Eventually, even the best-stocked pantry runs dry. You need to know how to find more.
Rainwater Harvesting
This is the "low-hanging fruit" of water gathering. A simple gutter system leading into a rain barrel can provide hundreds of gallons during a storm. Just remember: roof water contains bird droppings and asphalt shingle chemicals. It must be treated before you drink it.
Natural Sources
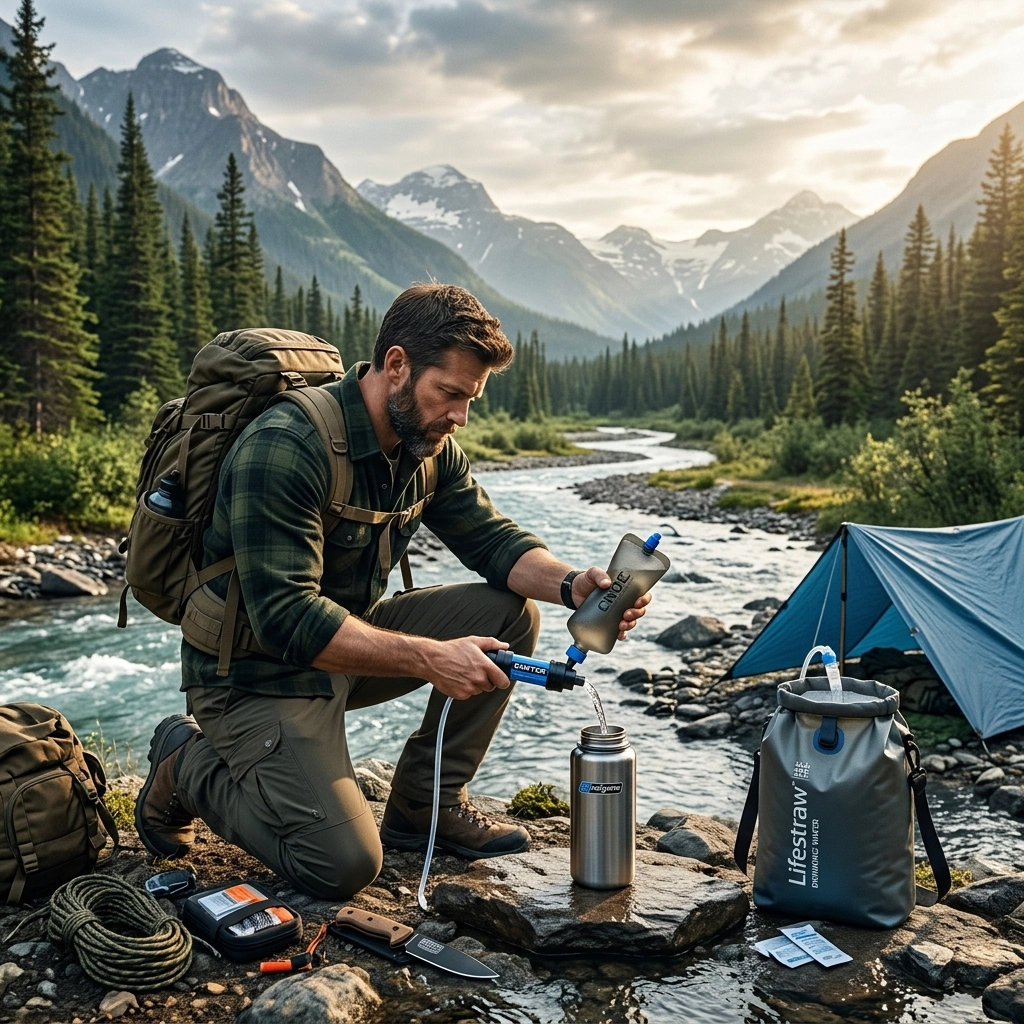
If you live near a river, lake, or stream, you have a goldmine — and a gamble. Never assume "clear" water is safe. Upstream, there could be a dead deer or a chemical plant.
- Moving water is generally better than stagnant water.
- Springs are better than surface water.
- Transpiration bags (placing a plastic bag over a leafy branch) can pull water from trees in a pinch, though it's a slow process.
Check out our survival training section for more advanced field craft on finding water in the wild.
🔬 4. Water Purification Methods: Making it Safe
Gathering water is half the battle; not dying from Giardia is the other half. You need to understand the difference between filtering and purifying. Filters remove "chunks" (bacteria and protozoa); purifiers kill the tiny stuff (viruses).
Method 1: Boiling
The old reliable. Bringing water to a rolling boil for at least one minute (three minutes if you're high in the mountains) kills everything biological. It won't remove chemicals or heavy metals, but it stops the "stomach bugs from hell."
Method 2: Chemical Treatment (Bleach)
If you can't start a fire, use bleach. It must be unscented, regular strength (5-8.25%) liquid chlorine bleach.
- Ratio: 8 drops per gallon of clear water.
- Wait: Let it sit for 30 minutes. If it doesn't smell slightly of chlorine, repeat the dose and wait another 15 minutes.

Method 3: Gravity and Pump Filters
Modern tech is a lifesaver. Brands like Sawyer, LifeStraw, and Berkey offer excellent water purification methods. A Sawyer Squeeze can filter up to 100,000 gallons and fits in your pocket. For home use, a Berkey-style gravity filter is the gold standard for removing both biological threats and chemical contaminants.
Keep an eye on our survival gear reviews for our top picks on filtration kits.
🚽 5. The Forgotten Side: Sanitation
You have water to drink. Great. But what happens when you need to flush the toilet? In a long-term "grid-down" scenario, using treated drinking water to flush a toilet is a crime against survival.
- Grey Water: Use "dirty" water (bathwater, laundry water) to manually pour into the toilet bowl to force a flush.
- The Two-Bucket System: One bucket for liquids, one for solids (mixed with sawdust or kitty litter). Keeping them separate prevents the horrific smell of raw sewage.
If you don't have a plan for waste, your pristine emergency water supply will eventually get contaminated by your own household's lack of hygiene.
📋 The EoDSurvival Water Readiness Checklist
Before you go back to scrolling, take five minutes to do this:
- Check your stock: Do you have at least 3 days of water for every person and pet?
- Buy a filter: If you don't own a portable water filter (like a Sawyer or LifeStraw), get one today.
- Locate your shut-off: Do you know where the main water valve is for your house? If a pipe bursts during a freeze, you need to kill the flow instantly.
- Download our guides: Grab our emergency checklist to make sure you haven't missed anything.

Confidence, Not Fear
Prepping isn't about hiding in a bunker waiting for the world to end. It's about the quiet confidence that comes from knowing that if a water main breaks or a storm hits, your family won't be thirsty.
Water is life. Literally. Secure yours today so you can focus on the bigger picture tomorrow.
Stay ready, stay hydrated.
Paul Brooks, EoDSurvival
Want to learn more about keeping the lights on when the world goes dark? Check out our guide to Power & Blackouts.
Download Your FREE Survival Guides
Get our complete emergency preparedness library including food storage, water purification, and communication guides.