You've seen the shows. Wealthy families spending millions on underground fortresses with swimming pools, hydroponic gardens, and gold-plated blast doors. It's enough to make the average person think, "Well, if the sirens ever go off, I guess I'm just out of luck."
Here is the truth: You don't need a million dollars to survive a fallout scenario. In fact, you don't even need a professional contractor.
Survival isn't about luxury; it's about physics. Radiation doesn't care if your walls are lined with mahogany or if you're sitting on a folding chair in your basement. It only cares about how much mass is between you and the source.
In this guide, we are going to debunk the "luxury bunker" myth. I'll show you how to build a fallout shelter using simple materials you probably already have in your garage or can pick up at a local hardware store for a few bucks. This is prepping for beginners at its most practical level.
☢️ The Three Pillars of Fallout Protection
Before we start moving dirt or stacking sandbags, you need to understand the three basic principles of radiation protection. If you get these right, you're already 90% of the way there.
- Time: The intensity of fallout radiation decays rapidly. The "Rule of Sevens" is a good guide: for every seven-fold increase in time after the explosion, the radiation dose rate decreases by a factor of ten. Staying shielded for the first 48 to 72 hours is the most critical.
- Distance: The further you are from the fallout particles, the lower your dose. This is why being underground or in the middle of a large building is safer than being near an exterior wall.
- Shielding: This is the big one. Shielding is simply putting heavy "stuff" between you and the radiation. The heavier and denser the material, the better.

🏠 Using What You Already Have: The Basement Advantage
If you have a basement, you already own the skeleton of a fallout shelter. You don't need to dig a new hole in the backyard.
A standard basement provides excellent protection because the earth surrounding the walls acts as a natural shield. However, the floor above you is usually thin wood and carpet, which offers very little protection from fallout settling on your roof or the ground outside.
Reinforcing Your Basement Corner
To make a basement "good enough," you want to find the corner that is most submerged underground. You are going to build a "lean-to" or a small inner chamber in that corner.
- Step 1: Choose the corner furthest away from windows and doors.
- Step 2: Use heavy furniture or sturdy plywood to create a "crawl space" or small room.
- Step 3: Pile mass on top of and around this structure.
This is where your emergency preparedness checklist comes in handy. You need to make sure you have the tools to reinforce this space before you need it.
🛠️ Budget-Friendly Materials for Shielding
You don't need lead plates. You need mass. Here are the most effective, low-cost materials you can use to build your shield:
- Earth/Dirt: It's free. Three feet of packed earth provides as much protection as several inches of lead.
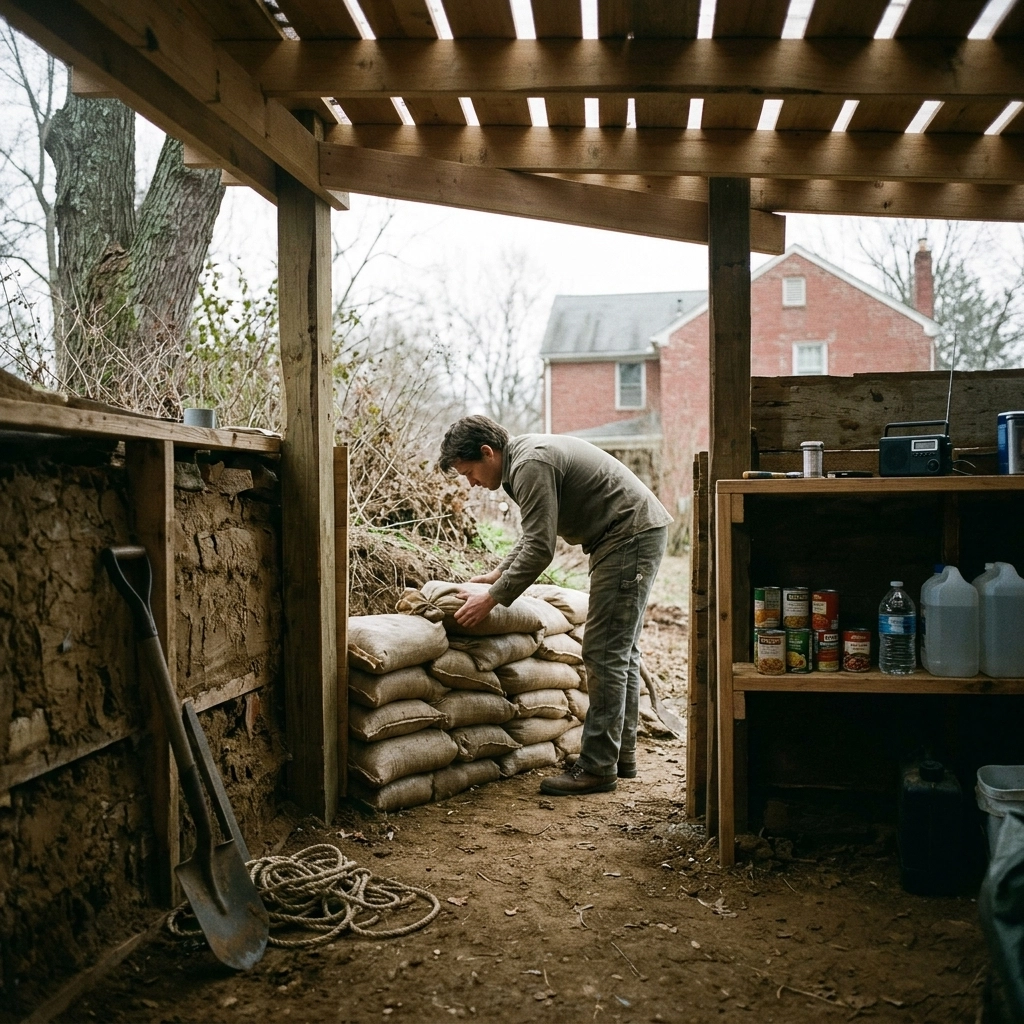
- Sandbags: Inexpensive and easy to move. Stacking sandbags against basement windows or around your inner shelter is a pro move.
- Concrete Blocks: If you have them lying around, use them. Don't leave gaps between them.
- Water: Heavy and effective. Storing your water supply around your shelter area serves two purposes: hydration and shielding. Check out our food and water guide for more storage tips.
- Books and Paper: Surprisingly dense. A wall of bookshelves packed tight is a decent makeshift shield.

🧱 How to Build a Fallout Shelter: The DIY Trench or "Expedient" Method
If you don't have a basement, don't panic. You can build an "expedient shelter" in your backyard in a matter of hours.
The Trench Shelter
This is the classic "Cresson Kearny" design (from the famous Nuclear War Survival Skills manual).
- Dig a trench: About 4 feet wide and 8 feet long (for two people).
- Cover the top: Use sturdy logs, heavy plywood, or even a vehicle (if you can drive it over the trench safely).
- Add mass: Pile at least 18-24 inches of the dirt you dug out back on top of the cover.
- Waterproofing: Use heavy plastic sheeting and duct tape to prevent rain from washing out your roof or soaking the occupants.
Earth-Berming
If digging a deep trench isn't an option (maybe you have rocky soil), you can build an above-ground structure using plywood and then "berm" it: meaning you pile dirt up against the sides until the structure is essentially inside a hill.
📦 The "Survival Kit" for Your Budget Shelter
A shelter is just a tomb if you can't breathe, eat, or stay sane inside it. Since you saved thousands of dollars by building it yourself, you can afford to stock up on the essentials.
- Heavy Plastic Sheeting and Duct Tape: Essential for sealing off cracks and creating a "mud room" at the entrance to brush off contaminated dust.
- Ventilation: You need air. A simple PVC pipe with a manual "Kearny Air Pump" (basically a hanging flap of plastic) can keep fresh air moving without requiring electricity.
- Lighting: LED lanterns and plenty of batteries. Avoid candles; they consume oxygen and are a fire hazard in small spaces.
- Sanitation: A 5-gallon bucket with a lid, heavy-duty trash bags, and plenty of kitty litter or sawdust. Trust me, you don't want to neglect this.
For a full list of what to pack, check out our survival gear reviews to see which budget-friendly items actually hold up.

💨 The Truth About Air Filtration
One of the biggest expenses in professional bunkers is the NBC (Nuclear, Biological, Chemical) air filtration system. They can cost $5,000 or more.
Do you need one? For a long-term stay, they are great. But for a budget "good enough" shelter, you can manage with simpler methods. Most fallout particles are relatively large: like grains of sand or ash. They fall out of the air quickly.
A simple hood made of HEPA filters or even multiple layers of high-quality furnace filters over your intake pipe can catch the vast majority of dangerous particles. Is it perfect? No. Is it better than breathing in radioactive dust? Absolutely.
🤝 Focus on "Good Enough" Survival
The biggest mistake beginners make is thinking they have to do it "perfectly" or not at all. This "all-or-nothing" mindset is dangerous.
A basement corner reinforced with stacks of old magazines and water jugs is significantly safer than sitting on your sofa. A trench in the backyard covered with plywood and dirt is better than a standard bedroom.
Survival is a sliding scale. Every inch of dirt you put between yourself and the outside world increases your odds. You are building a "Toll Booth" for radiation: the higher the "price" (mass) it has to pay to get through, the less of it reaches you.
✅ Your Weekend Action Plan
Ready to stop worrying and start prepping? Here is a simple emergency preparedness checklist to get you started this weekend:
- Identify your spot: Find the most shielded area of your home (usually the basement corner).
- Clear the clutter: Make space for your inner shelter.
- Gather mass: Start collecting sandbags, water containers, or even bricks.
- Buy the basics: Get 50 feet of heavy plastic sheeting and three rolls of duct tape.
- Plan your air: Figure out where your air intake and exhaust will go.

🛡️ Final Thoughts
You don't need to be a millionaire to protect your family. You just need a shovel, some basic materials, and the willingness to sweat a little.
By focusing on the core principles of Time, Distance, and Shielding, you can create a functional fallout shelter on a shoestring budget. Don't let the "perfect" be the enemy of the "good." Start with what you have, build what you can, and stay prepared.
For more hands-on advice and training, visit our survival training section or listen to our latest podcasts where we dive deep into realistic prepping for everyday people.
Stay safe out there. You've got this.
Stay Prepared — Download Our Guides
Get our complete emergency preparedness guides covering food storage, communications, and power backup solutions for UK households.